How to Solve Overheating Issues in a PC with a Liquid Cooler
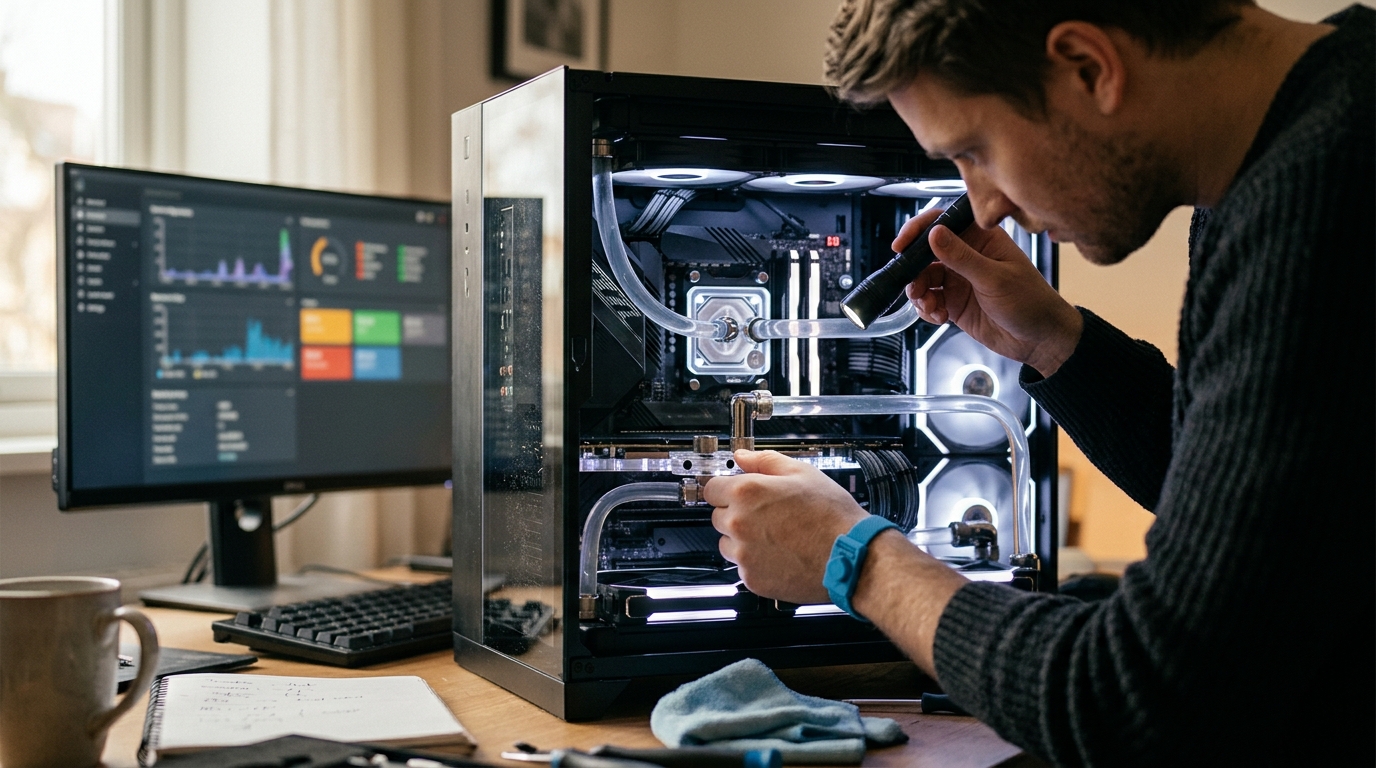
Liquid cooling promises superior thermal management for high-performance PCs — but when your CPU temperatures start climbing despite having an AIO or custom loop installed, frustration sets in fast. Whether you are seeing thermal throttling during gaming sessions, unexpected shutdowns, or BIOS temperature warnings at idle, this hands-on guide walks you through every practical step to diagnose and fix liquid cooler overheating problems.
Why Is Your Liquid-Cooled PC Still Overheating?
Before you start swapping parts, understanding the possible root causes will save you time and money. Liquid cooling systems — both sealed AIO units and custom water loops — share several common failure points.
1. Pump Failure or Degraded Performance
The pump is the heart of any liquid cooler. If it stops circulating coolant, heat has nowhere to go. Signs of a failing pump include rapidly rising CPU temperatures, grinding or clicking sounds, or complete silence where a faint hum should be. A visual inspection may also reveal that the impeller is not spinning. Most AIO pumps have a typical lifespan of 3–7 years, with bearing wear from continuous operation being the main cause of failure.
2. Trapped Air Bubbles
Air pockets inside the loop impede coolant flow and reduce heat transfer efficiency. This is especially common right after installation or if the PC has been transported. Gurgling noises from the pump block are a telltale sign. When the pump is mounted higher than the radiator, air naturally collects at the pump — the worst possible location.
3. Dried or Poorly Applied Thermal Paste
The thermal interface between the cold plate and the CPU is critical. If thermal paste has dried out, was applied unevenly, or is missing entirely, heat transfer drops dramatically. Even premium paste degrades over time and should be reapplied every 2–3 years, or whenever you remove the cooler.
4. Clogged or Dusty Radiator
Dust accumulation on radiator fins acts as an insulator, preventing heat from dissipating effectively. In custom loops, mineral deposits or plasticizer particles from tubing can also clog micro-channels in the water block, producing a rapid temperature spike under load and very low flow rates.
5. Incorrect BIOS or Software Settings
A pump connected to a fan header set to a silent profile may run at reduced speed, crippling cooling performance. Aggressive overclocking, high Vcore voltages, or features like PBO and Multi-Core Enhancement can also push heat output beyond what your cooler can handle — especially on a 240 mm AIO paired with a high-TDP processor.
6. Kinked or Obstructed Tubing
Thin-walled soft tubing can collapse under tight bends or get pinched by side panels. This restricts coolant flow just as effectively as a dead pump, with similar symptoms: rapid temperature spikes under any load.
Step-by-Step: How to Diagnose and Fix Liquid Cooler Overheating
Work through these steps in order, from quickest checks to more involved repairs.
Step 1 — Monitor Temperatures and Pump RPM
Install a hardware monitoring tool such as HWMonitor, Core Temp, or your cooler manufacturer's software (e.g., Corsair iCUE, NZXT CAM). Record your CPU idle temperature and load temperature during a stress test like Prime95 or Cinebench. Also check the reported pump RPM — a reading of 0 or wildly fluctuating values indicates a pump problem.
- Normal idle range: 30–45 °C (ambient + 10–20 °C)
- Normal load range (240 mm AIO): roughly 30–50 °C above ambient
- Red flag: idle temps above 60 °C or load temps hitting 95–100 °C
Step 2 — Verify All Connections
Power down, unplug, and open the case. Inspect every cable connected to the cooler:
- Pump power: Should be on a dedicated AIO_PUMP or CPU_FAN header (or SATA power, depending on model).
- Fan cables: Each radiator fan plugged into a motherboard fan header or splitter.
- USB header: Required by many AIOs for software control and monitoring.
Disconnect and reseat each connector. A slightly loose connection is one of the most frequent — and most overlooked — causes of cooling issues.
Step 3 — Listen and Feel for Pump Activity
Power on and place your hand on the pump housing. You should feel a faint vibration and hear a low hum. Complete silence with no vibration strongly suggests the pump is dead. If you hear rattling or clicking, the impeller may be damaged or detached from its axle — this means replacement is needed even if RPM is reported in software, because the RPM sensor reads motor spin, not actual coolant flow.
Step 4 — Check Tube Temperatures
With the system running under load for a few minutes, carefully touch both tubes coming from the pump. One should feel noticeably warmer than the other — this confirms coolant is flowing. If both tubes are the same temperature (both warm or both cool), coolant is not circulating properly.
Step 5 — Bleed Trapped Air
If you hear gurgling, air is likely trapped in the loop. With the PC running:
- Gently tilt and rotate the entire case in different directions to coax air bubbles toward the radiator.
- If possible, reposition the radiator so it sits above the pump. The pump should never be the highest point in the loop.
- Run the pump at 100% speed for several hours to help push air through the system.
Step 6 — Reapply Thermal Paste
Remove the pump block from the CPU. Inspect the thermal paste imprint on both surfaces:
- Good imprint: Even, full coverage across the IHS.
- Bad imprint: Dry, patchy, or concentrated in one corner (indicates uneven mounting pressure).
Clean both surfaces with 90%+ isopropyl alcohol and a lint-free cloth. Apply a pea-sized dot of quality thermal paste (e.g., Noctua NT-H1, Arctic MX-5, or Thermal Grizzly Kryonaut) to the center of the CPU and remount the block with even, firm pressure on all mounting screws — tighten in a cross pattern.
Step 7 — Clean the Radiator
Remove the radiator fans and use compressed air to blow dust out of the fin stack from both sides. For custom loops, also inspect the water block micro-channels for buildup or contamination and flush if necessary. Reassemble and test.
Step 8 — Correct BIOS Settings
Enter BIOS and navigate to hardware monitoring or fan control:
- Set the pump header to Full Speed or 100% DC/PWM — pumps should generally run at maximum.
- Configure radiator fans with an appropriate curve: ramp up aggressively above 60 °C.
- Check CPU voltage: disable any automatic overvolting features (MCE, PBO) temporarily and test at stock settings to rule out excessive heat generation.
Step 9 — Evaluate Cooler-to-CPU Match
A 240 mm AIO may be insufficient for sustained loads on high-TDP chips (e.g., Intel Core i9, AMD Ryzen 9 with PBO enabled). If temperatures remain high even after all other fixes, consider upgrading to a 280 mm, 360 mm, or 420 mm radiator AIO — or a custom loop with a thicker radiator and higher flow capacity.
Step 10 — Replace the Cooler If Necessary
If the pump is confirmed dead, the cooler is leaking, or it is more than 5–6 years old, replacement is the safest path. AIO coolers are sealed units not designed for refilling, and a failed AIO should be replaced rather than repaired. Check your warranty — many reputable brands offer 5–7 year coverage.
Preventive Maintenance Checklist
Avoid future overheating emergencies with regular upkeep:
- Every 3 months: Clean radiator and case fans with compressed air.
- Every 12–18 months: Replace coolant in custom loops with quality premix coolant containing biocides.
- Every 2–3 years: Reapply thermal paste between the cold plate and CPU.
- Ongoing: Monitor temps weekly using software; set up alerts for anything above 85 °C.
- Annually: Inspect tubing for kinks, discoloration, or signs of wear.
Key Takeaways
- Pump failure is the single most common cause of overheating in liquid-cooled PCs — always check pump operation first.
- Air bubbles, dried thermal paste, and dusty radiators account for the majority of remaining cases.
- A systematic, step-by-step approach — from software monitoring to physical inspection — prevents wasted effort and misdiagnosis.
- Proper radiator positioning (above the pump) and correct BIOS header settings are free fixes that many builders overlook.
- Match your cooler's radiator size to your CPU's TDP — a 240 mm AIO has limits under sustained heavy loads on high-core-count processors.
Frequently Asked Questions
How do I know if my AIO pump has failed?
Place your hand on the pump block while the system is running. A working pump produces a faint vibration and hum. If there is no vibration, no sound, and your CPU temperatures spike rapidly at idle, the pump is likely dead. Software RPM readings can be misleading because the sensor measures motor rotation, not actual coolant circulation.
Can dust really affect liquid cooler performance?
Yes. Dust buildup on radiator fins acts as insulation and significantly reduces heat dissipation. Clean your radiator with compressed air every few months to maintain optimal airflow.
How often should I replace thermal paste on a liquid cooler?
Reapply thermal paste every 2–3 years under normal use. If you remove the cooler for any reason — even briefly — always clean and reapply paste before reinstalling.
Why is my brand-new AIO cooler still overheating?
The two most likely causes on a new unit are air trapped in the pump and incorrect mounting pressure. Tilt the case to bleed air, ensure all mounting screws are evenly tightened, and verify the pump header is set to full speed in BIOS.
Is a 240 mm AIO enough for a high-end CPU?
A 240 mm AIO can handle most mid-range CPUs at stock settings but may struggle with sustained all-core loads on high-TDP chips like Intel Core i9 or AMD Ryzen 9. For these processors, a 280 mm or 360 mm radiator is recommended.
Should I replace or refill my AIO cooler?
Most AIO coolers are sealed and not designed for refilling. If coolant has been lost due to evaporation or a slow leak, replacing the entire unit is the recommended solution. Custom loop users should change coolant every 12–18 months.
Find the Right Cooling Hardware at aaawave.com
Whether you need a replacement AIO liquid cooler, high-performance thermal paste, or case fans to improve overall airflow, aaawave.com carries a wide selection of cooling components from trusted brands. Browse our catalog to find the right fit for your build and keep your PC running at peak performance.